
Before I begin, I will say that there is a vast amount of knowledge on this particular subject – right at your fingertips.
Lynda is an online tutorial based knowledge hub which lists everything from Revit Design Options right down to Sustainablilty and Biophilic Architecture – you name it – they have it!
https://www.lynda.com/Revit-training-tutorials/1533-0.html
If this blog isn’t clear enough – I recommend having a look at the website above.
So, you are unclear of Revit Design Options? First off, you should establish why you want to use them. Internal layout? Facade change? or Massing concepts? – You’re in the right place.
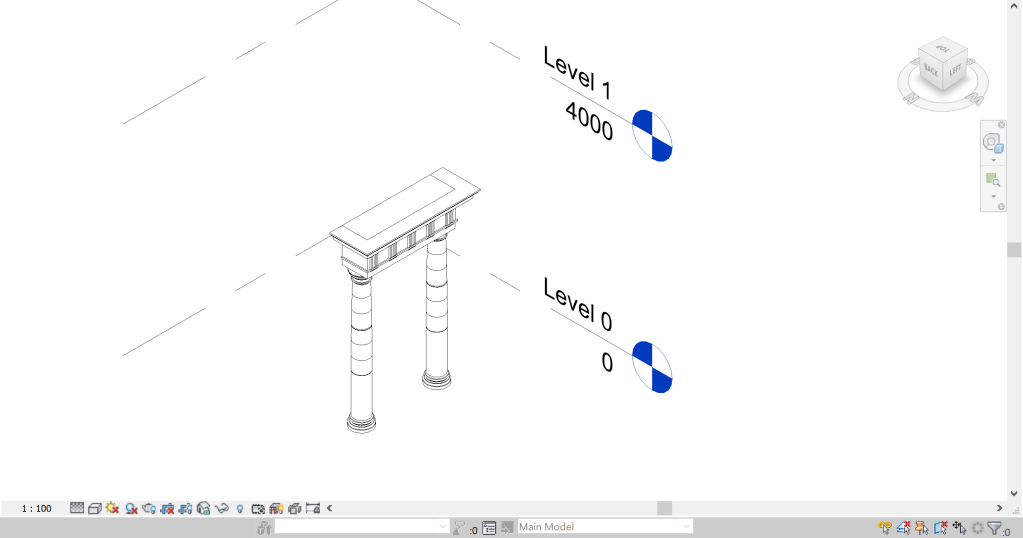
- Start with your existing project – Here I have loaded a basic design which I will multiply and reconifgure using Design Options.

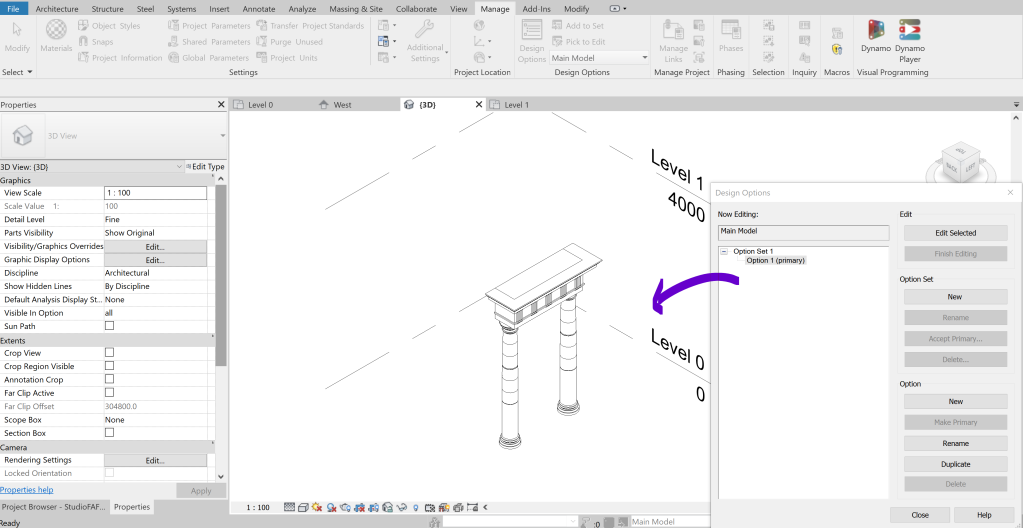
2. Go to your main toolbar – Manage -Design Options. Click on the Design Options button

3. A new window will open, showing the design options within the model. This is still a blank canvas.

Click on New Option Set, this will create a primary option – this automatically replicates your main model. Click new option to create a secondary option.
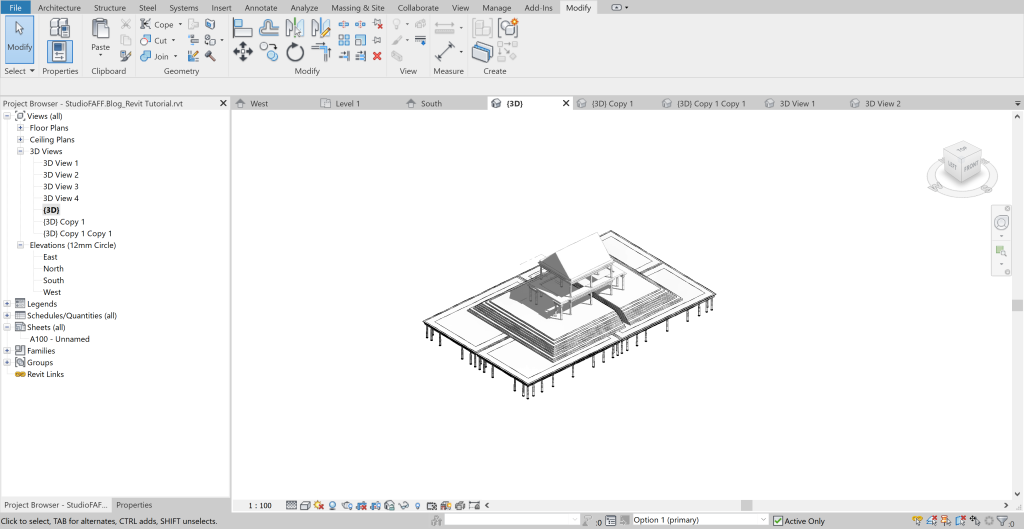
4. Et Voila, after a bit of modelling we now have an embellished design Option 01 – again note at the bottom of the screen where it states Option 01 – Primary
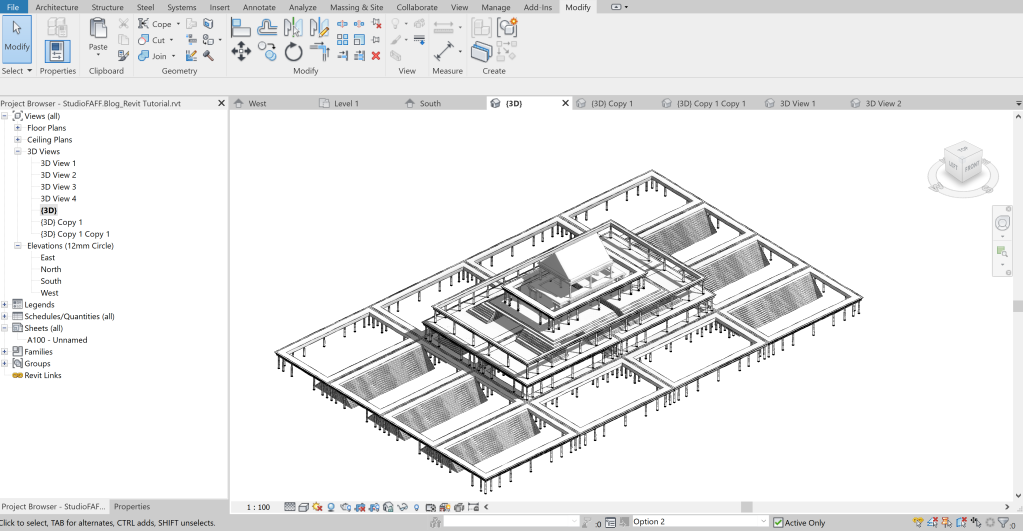
Option 02 – little bit clunkier and more elaborate. Both types exist in the model and are interchangeable.
Top tip – to compare and contrast Design Options utilising the same views – duplicate the views, assign a view template to all, but in the template click the desired Design Option from the drop down list otherwise this will remain <automatic>.
If you require assistance, elaboration on different settings or top tips, please don’t hesitate to let me know and I’ll do a feature on it.
