
This sounds rather boring, but honestly, it is one of my favourite things to do in Revit. Primarily because we get given a small hammer and can go around our models demolishing things…
Slightly sinister, I am aware. However, exceptionally useful and easy to do! – When you know how… so follow these easy steps below:
Utilising the same model from AH #002 –

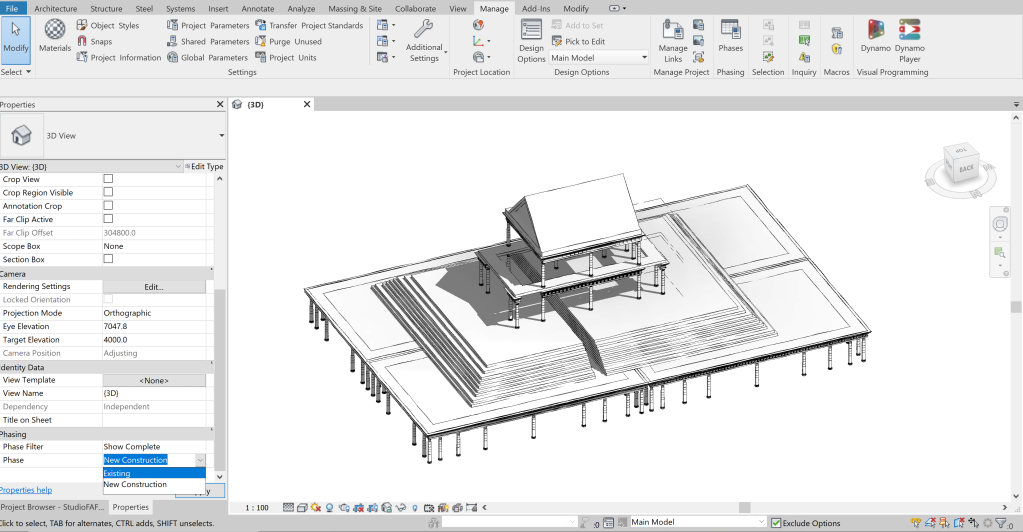
As you can see above, we are in the Main Model – standard 3D View. Scroll down in your properties bar to the left hand side…

You should see the Phase Filter – Show All and the Phase – New Construction (as highlighted).
This is set as a standard. Any modelling you create in Revit always starts in New construction as default.

Go to the Manage tab on the toolbar above, and the below pop up box will appear.

For now, we will deal with Existing and New Construction only, however you can add in another phase i.e. Temporary/ Phase 01 – Building works etc. and repeat the same process I am about to show you.

In the same dialoge box, the Phase Filters are key in showing the phases within your model. For example. Take Show Complete – the New Construction will be shown as per its model category/ template i.e. if you have a wall build up and the model detail is set on fine… the New construction will appear as so.
The Existing is also as Category – however if we change this to Overridden we can then use our Graphics override tab…

In Graphics Overrides we will change the Existing Phase – to show Grey solid hatch in all views. This will make it easier to assertain, what is existing against proposed. This can be changed at a later stage to show the existing wall make-up by leaving the pattern <as material>.

We will then do the same with Demolished! Creating a red hatch and line to assertain clearly in all views and drawings what has been demolished for New Construction.

Below we are about to demolish this roof. Note at present, it is shown as New Construction and under Phase Demolished – None.

Change those parameters to Existing – Phase Created. Phase Demolished – New Construction.


Go back into your 3D view – Change the Phase Filter to Show All under the New Construction Phase.

The Show All Tab (going back into our dialog box in Manage) will literally show all phases together i.e. The Existing (by category), the New Construction (by category) and Demolished (overridden).

Change that filter to Show Complete – Phase New Construction – Everything is shown in the same view excluding the existing/demolished.

Change the filter to Show Complete – Existing …
And only the roof will appear …

There is also another way to do quick and easy Demo works… Go to the Hammer under the Modify Tab … click on the item you want to demolish…

Et VOILA! A more fun way to Demolish items… just don’t get too carried away…

If you require assistance, elaboration on different settings or top tips, please don’t hesitate to let me know and I’ll do a feature on it.
